
Understanding Paver Patio Installation Bay Area
What is Paver Patio Installation?
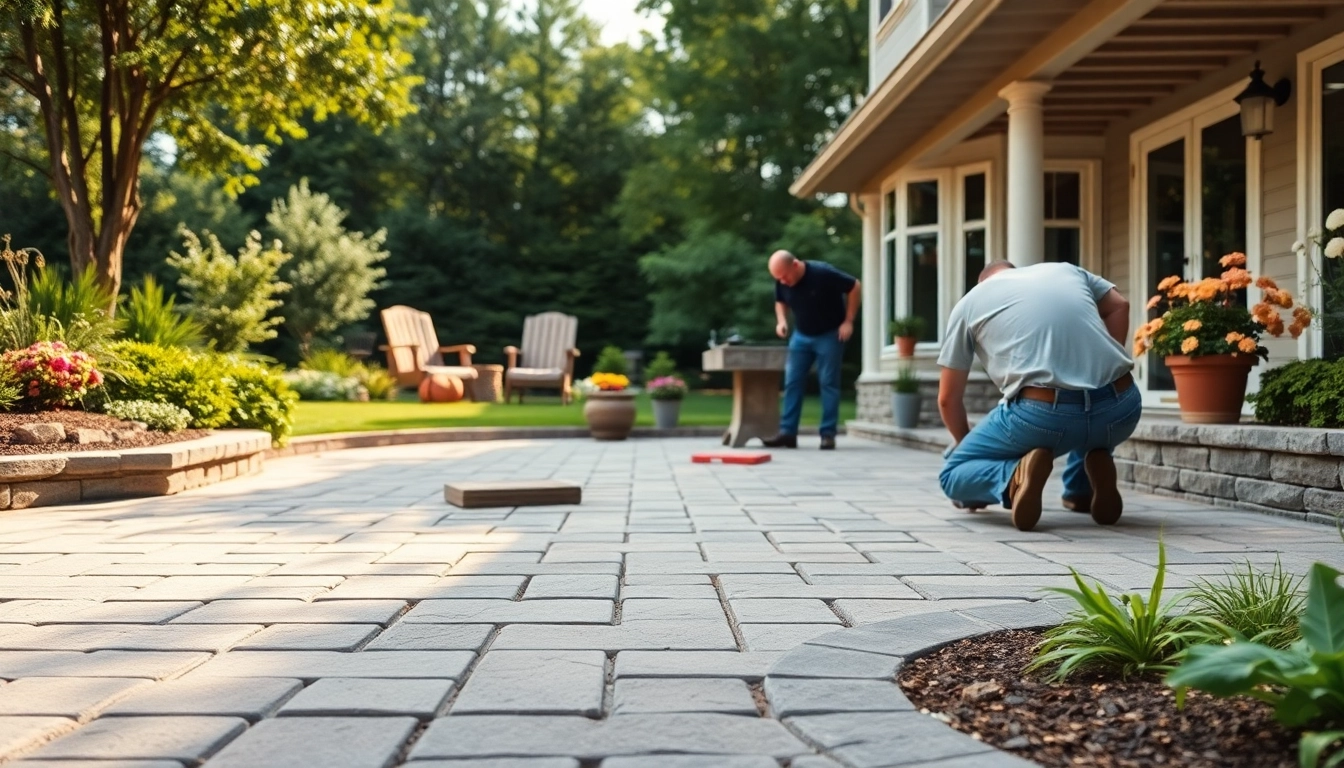
Paver patio installation involves laying interlocking stones or concrete slabs to create aesthetically pleasing and functional outdoor spaces. Unlike traditional concrete patios, paver patios offer a variety of design options and can be arranged in various patterns. The versatility of pavers makes them a popular choice for homeowners looking to enhance their outdoor living areas. The installation process entails site preparation, selection of materials, and careful placement of the pavers to ensure durability and visual appeal. For those interested in transforming their backyards, paver patio installation Bay Area services are readily available to guide you through the process.
Benefits of Choosing Pavers
Pavers offer a plethora of benefits that cater to both function and style. One of the primary advantages is their durability; paver patios can withstand various weather conditions and heavy foot traffic without cracking, unlike concrete alternatives. They also enhance drainage and reduce the risk of water pooling, making them a safer option for families. Additionally, pavers come in a myriad of colors, shapes, and sizes, allowing homeowners to customize their patios to match their style and landscape. This not only increases the aesthetic value but can also enhance the property’s overall market value.
Site Preparation Essentials
Proper site preparation is crucial to the longevity and functionality of a paver patio. The process begins with selecting an appropriate location that is level and has good drainage. Then, the area must be cleared of grass, weeds, and debris. Following that, a base layer of gravel is typically installed, which should be compacted to provide a firm foundation. The depth and type of base material depend on the local soil conditions and climate. Finally, a layer of sand is often added on top of the gravel to facilitate easy placement and adjustment of the pavers.
Materials Used in Paver Patio Installation Bay Area
Types of Pavers for Durability and Aesthetic
When considering materials for a paver patio, several options are available. Concrete pavers are popular for their affordability and versatility. They are available in various colors and can mimic the appearance of more expensive materials like stone. Clay pavers provide a classic look and incredible durability but tend to be more expensive. Natural stone pavers, like flagstone and slate, are prized for their unique aesthetics and natural variations but come at a higher price point. Ultimately, the choice of material should be based on your design preferences, budget, and the specific use of the patio.
Choosing the Right Base Material
Choosing the right base material is vital for ensuring your paver patio remains intact over time. Crushed stone is commonly used due to its ability to provide excellent drainage and stability. Course gravel or decomposed granite can also serve as base materials, depending on the local availability and climate conditions. The base should be at least 4 to 6 inches deep and thoroughly compacted to prevent any settling post-installation. A well-prepared base not only prolongs the lifespan of your patio but also minimizes maintenance issues.
Incorporating Design Elements
Design elements can elevate a paver patio from basic to captivating. Homeowners have the option to create personalized patterns, borders, and inlays, adding visual interest to the layout. Mixing different materials or colors can create a unique aesthetic that reflects your style. Additionally, integrating features like retaining walls, built-in benches, or outdoor fire pits can further enhance the usability and appeal of your patio. Creative landscaping and lighting can also make your outdoor space feel cohesive and inviting.
Steps for a Successful Paver Patio Installation Bay Area
Planning Your Patio Layout
Before beginning the installation, planning your patio layout is essential. Start by determining the patio’s intended use, whether for dining, entertainment, or gathering. Sketch out a design that incorporates any furniture or landscaping elements you wish to include. It’s crucial to consider the flow of movement, ensuring ample space for navigating around furniture and entering or exiting the patio. Using string lines or stakes can help visualize and finalize the layout before commencing the digging phase.
Installing the Base and Edging
Once your design is decided, it’s time to install the base and edging. Start by excavating the area to the required depth, factoring in the thickness of the pavers and base material. Lay down your base material, spreading it evenly and compacting it using a plate compactor. Follow by placing edging stones or a border to define the patio’s area and prevent the pavers from shifting. This step is essential for maintaining the integrity of your design over time.
Placing and Securing the Pavers
With the base prepared, begin placing the pavers according to your layout design. Start from a corner or an edge and work your way outwards, ensuring tight joints between the stones. Use a rubber mallet to tap each stone into place and ensure they’re level. Once all pavers are laid, sweep a fine layer of sand over the surface and use a plate compactor to lock them into position. This final step helps fill in gaps and stabilize the entire structure.
Common Challenges in Paver Patio Installation Bay Area
Dealing with Uneven Surfaces
Uneven surfaces can pose significant challenges during installation. If the ground surface is sloped or bumpy, it is crucial to address these issues during the site preparation phase. Use a level and a string line to mark out the desired elevation for the patio surface. Excavating additional soil or adding fill can help achieve a flat base before laying pavers. In cases where personal competence may be insufficient, seeking professional assistance can ensure optimal results.
Weather Considerations
Weather can greatly impact the efficiency and outcome of paver patio installation. Conducting installation during dry days is optimal because wet soil can lead to instability, and rain can wash away base materials. Extreme heat can cause pavers to become too hot to handle and may affect adhesion. Always check the weather forecast before starting your project, and plan your installation during a time of moderate weather conditions to ensure the best results.
Maintenance and Repair Solutions
Even with proper installation, maintenance is necessary to keep a paver patio looking its best. Regularly sweeping away debris, cleaning stains promptly, and occasionally re-applying sand between the pavers can prolong their life. For repairs, lifting and replacing damaged pavers is often straightforward. Homeowners should also inspect for shifting or settling regularly and address these issues as they arise to maintain the patio’s structural integrity.
Frequently Asked Questions about Paver Patio Installation Bay Area
How long does a paver patio installation take?
The duration of installation varies based on size and complexity but typically ranges from a few days to a week.
What is the average cost of paver patio installation?
Costs can vary widely depending on materials, size, and labor, typically averaging between $10 to $20 per square foot.
Are paver patios durable against weather changes?
Paver patios are designed to withstand various weather conditions, offering excellent resilience against frost, rain, and heat.
Can I install pavers myself, or should I hire a professional?
While DIY installation is possible, hiring a professional ensures proper installation, especially for complex designs or uneven terrain.
What maintenance do paver patios require?
Maintenance includes regular sweeping, power washing, applying sealant, and replacing any damaged or sinking pavers as needed.